Deploying an Application to Kubernetes Cluster using Jenkins CI/CD Pipeline

Prince is a technical writer and DevOps engineer who believes in the power of showing up. He is passionate about helping others learn and grow through writing and coding.
Imagine you have your application running in your Kubernetes cluster. Every once in a while, there are some changes made to the application, and all you need to do is execute the kubectl command which will apply your new changes to the application in the cluster.
This isn't a big deal, especially when you have a single application, or you are the only one working on the application. However, what if multiple applications are running in the cluster, or multiple developers are working on the application? Manually updating the applications in the cluster can slowly become a bad idea.
That's why automation is important. With automation, once you've made your changes, you can push the changes to a repository, and the CI/CD pipeline will take care of the rest. The "rest" includes things like building the application, running the tests, and deploying the application to the cluster.
In this article, you're gonna learn how to deploy your application to a Kubernetes cluster using Jenkins CI/CD pipeline. Aside from having deployed an app, by the end of this article, you'll have a foundational understanding of how application deployment works from Jenkins to a Kubernetes cluster.
Prerequisites
This article assumes that you have a good understanding of CI/CD and Kubernetes. Also, you should have the following set up:
A Kubernetes cluster running. You can use Minikube for this.
Jenkins installed on your machine. You can follow the instructions here.
Project Setup
The main focus of the project is to deploy an application to a Kubernetes cluster using a Jenkins pipeline. Therefore, other steps like building a docker image, pushing the image to a registry, etc., will be skipped.
The application is a Google Cloud's echo server that simply returns information about your pod. You can find the source code here.
The Jenkins pipeline will get access via SSH to the Kubernetes server which is running on Minikube. Then the pipeline will create the deployment of this application in the Kubernetes cluster. It'll also expose the deployment as a service so that you can access the application.
Step 1: Install the SSH Agent Plugin on Jenkins
Jenkins SSH Agent plugin allows you to execute commands on a remote server via SSH. This plugin is required to connect to the Kubernetes server. To install the plugin, use the following steps:
On your Jenkins dashboard, click on Manage Jenkins on the left sidebar.
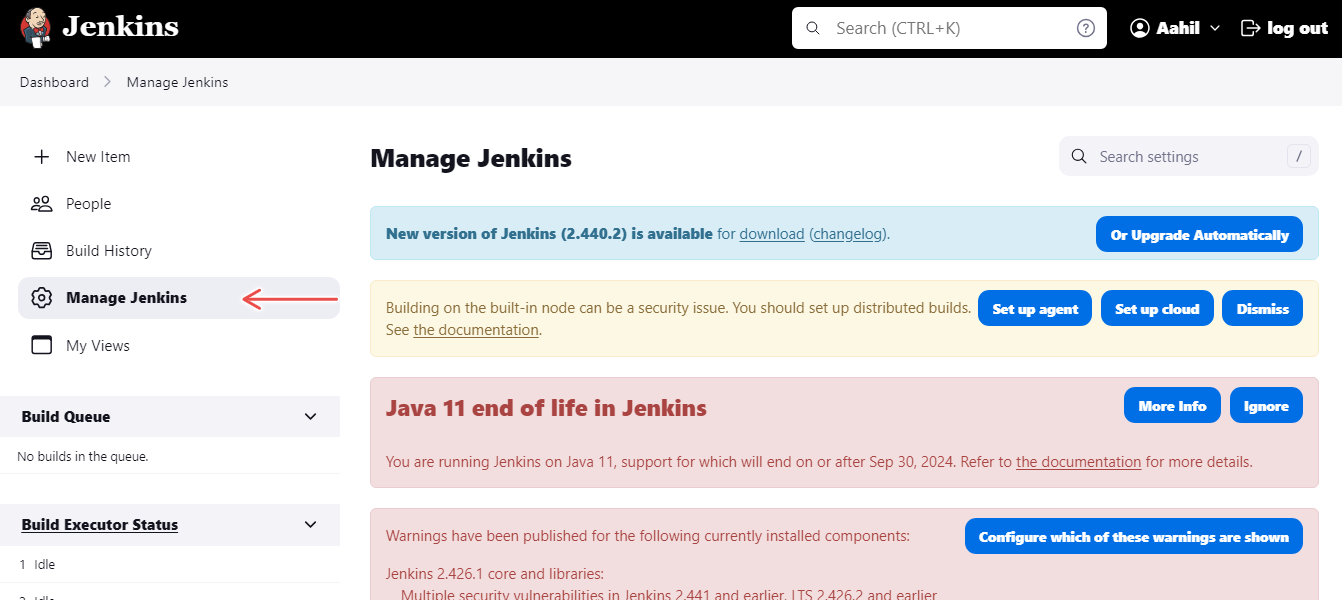
Figure 1 : Manage Jenkins
Scroll down and select Plugins.
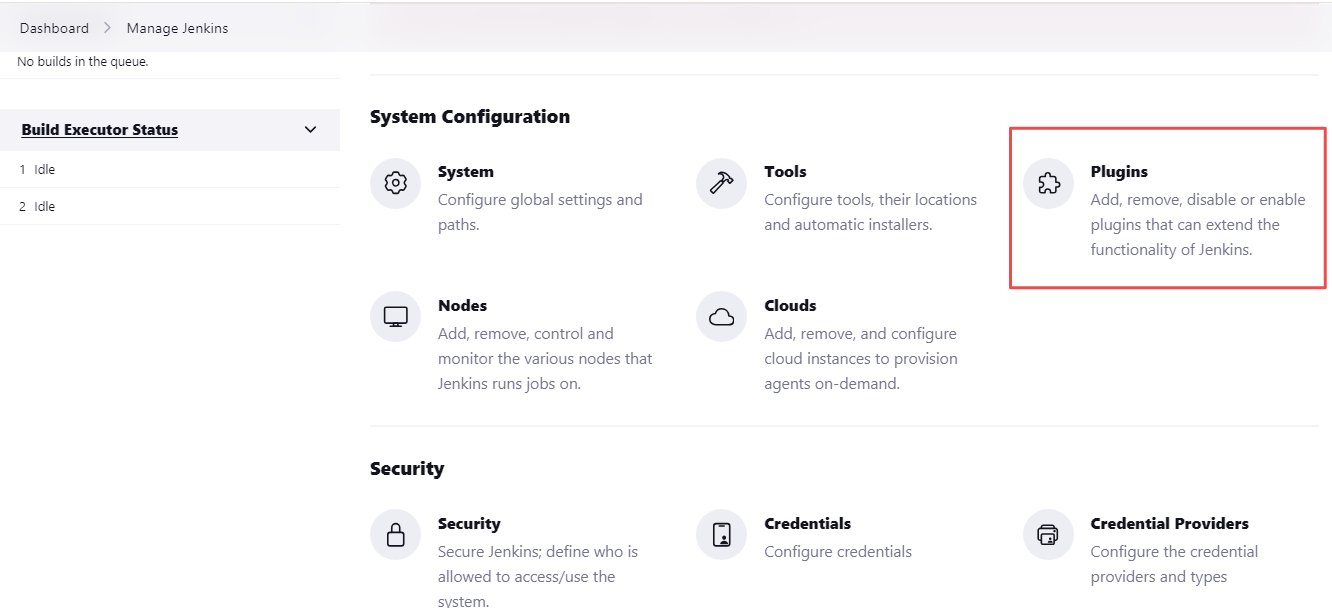
Figure 2 : Manage plugins
Click on the Available plugins tab and search for SSH Agent.
Click on the checkbox beside the SSH Agent plugin > Install button.
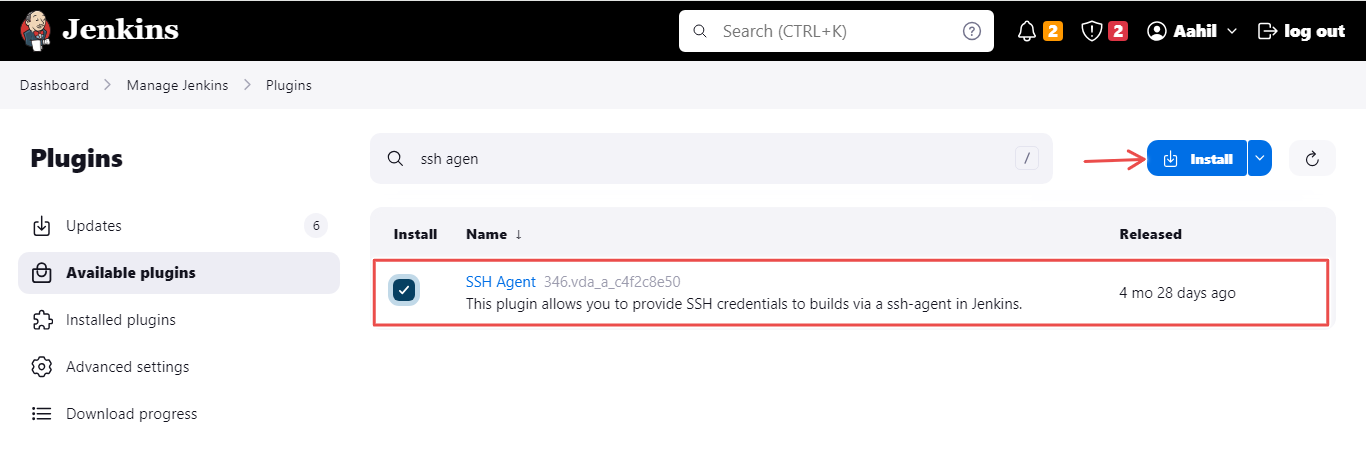
Figure 3 : Install SSH Agent Plugin
Once the plugin is installed, you can now create a Jenkins pipeline.
Step 2: Create a Jenkins Pipeline
The Jenkins pipeline will contain the steps to deploy the application to the Kubernetes cluster. To create the pipeline, follow these steps:
On your Jenkins dashboard, click on New Item on the left sidebar.
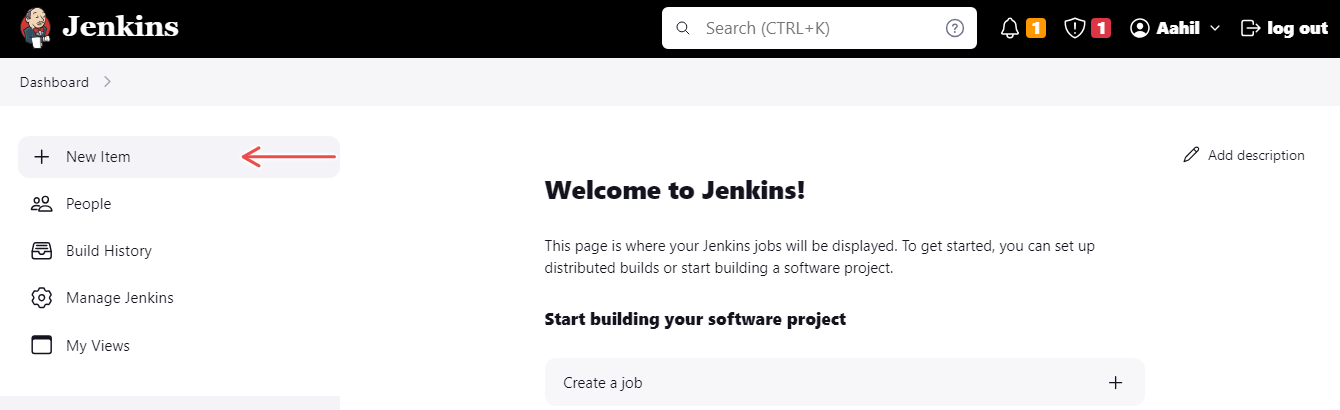
Figure 4 : New Item
Enter a name for the pipeline and select Pipeline. Then click on OK.
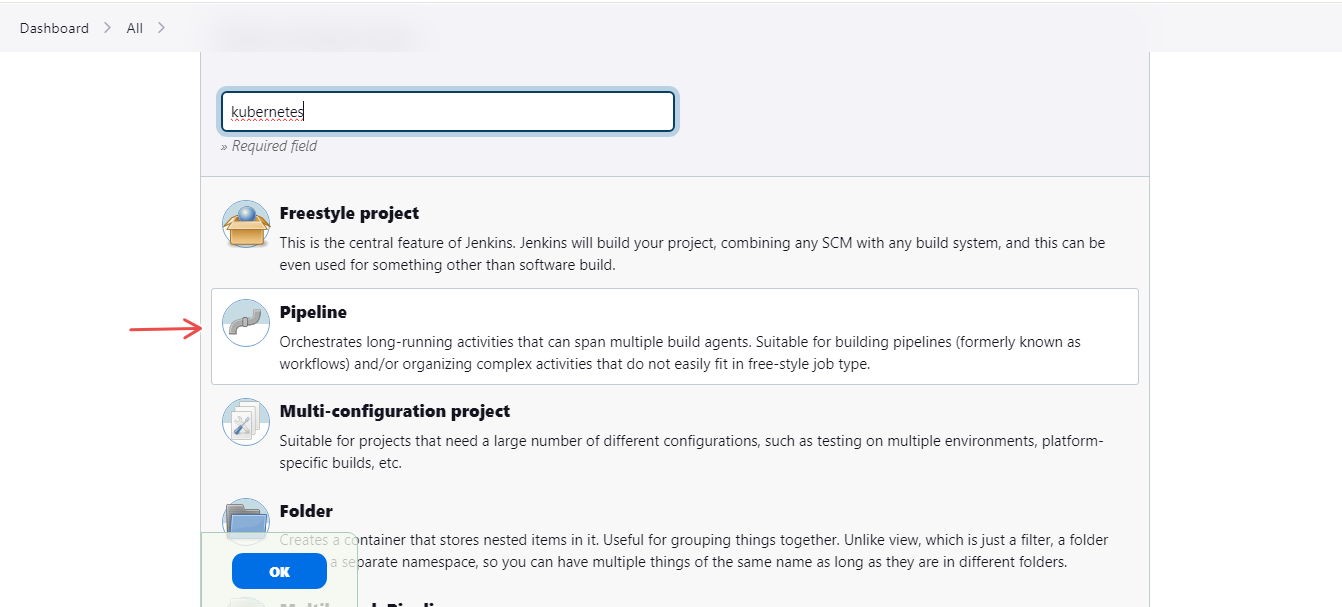
Figure 5 : Pipeline
On the newly created pipeline, navigate to the Configure tab > Pipeline > Pipeline syntax
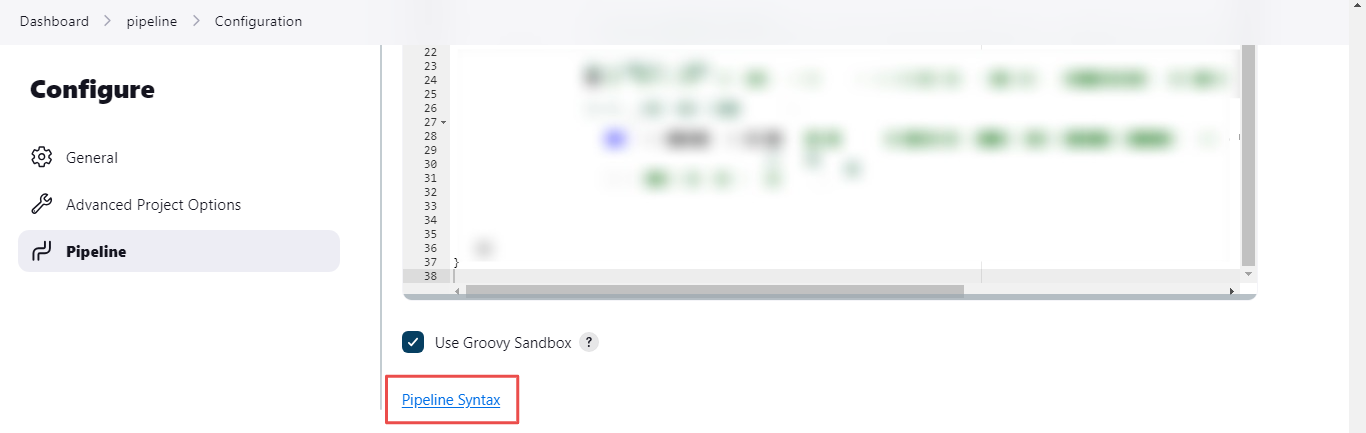
Figure 6 : Pipeline Syntax
This will allow you to generate a syntax to use the SSH agent plugin in the pipeline.
In the Sample Step dropdown, select sshagent: SSH agent.
Enter the SSH credentials of the Kubernetes server. You can do this by clicking on Add and then selecting Jenkins.
In the Kind option, select the SSH Username with private key option.
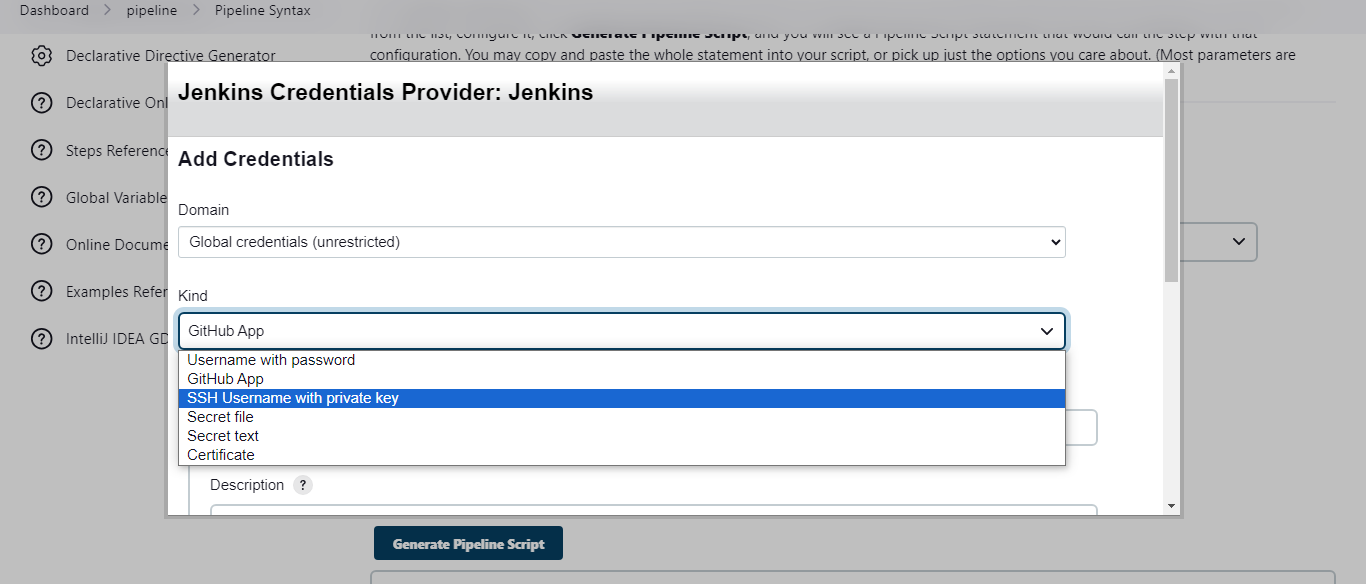
Figure 7 : Add Credentials
After which, you'll enter the following details:
ID: The ID of the Kubernetes server.
Description: The description of the Kubernetes server.
Username: The username of the Kubernetes server.
Private Key: The private key of the Kubernetes server.
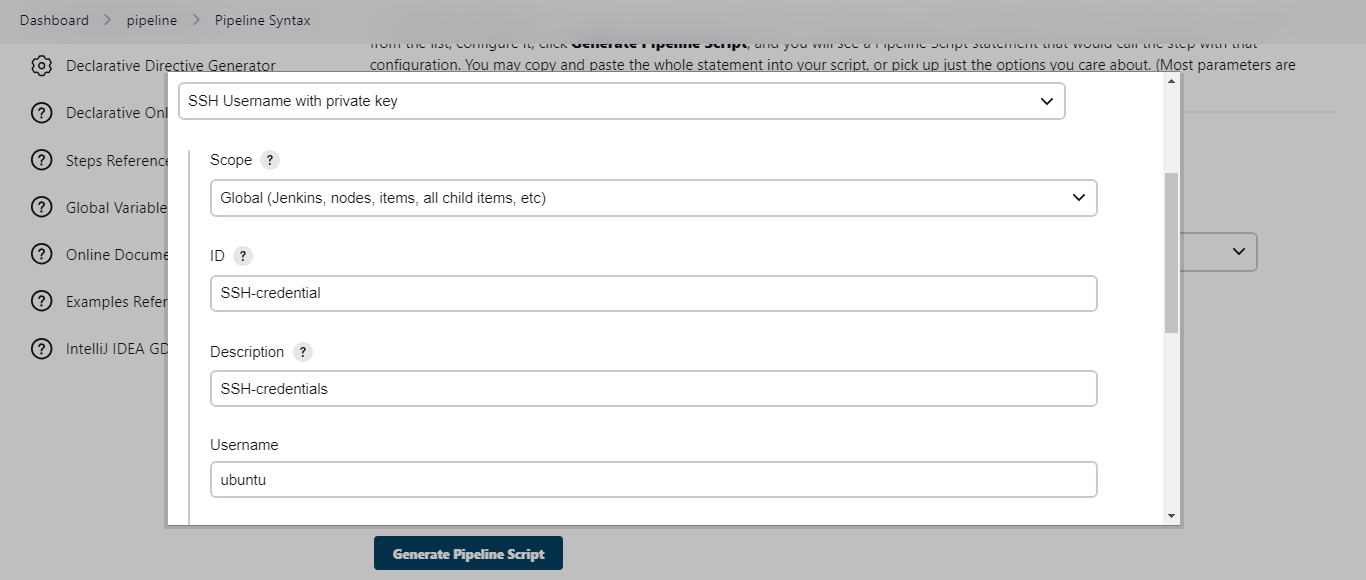
Figure 8 : SSH Credentials
Click on Add > Generate Pipeline Script.
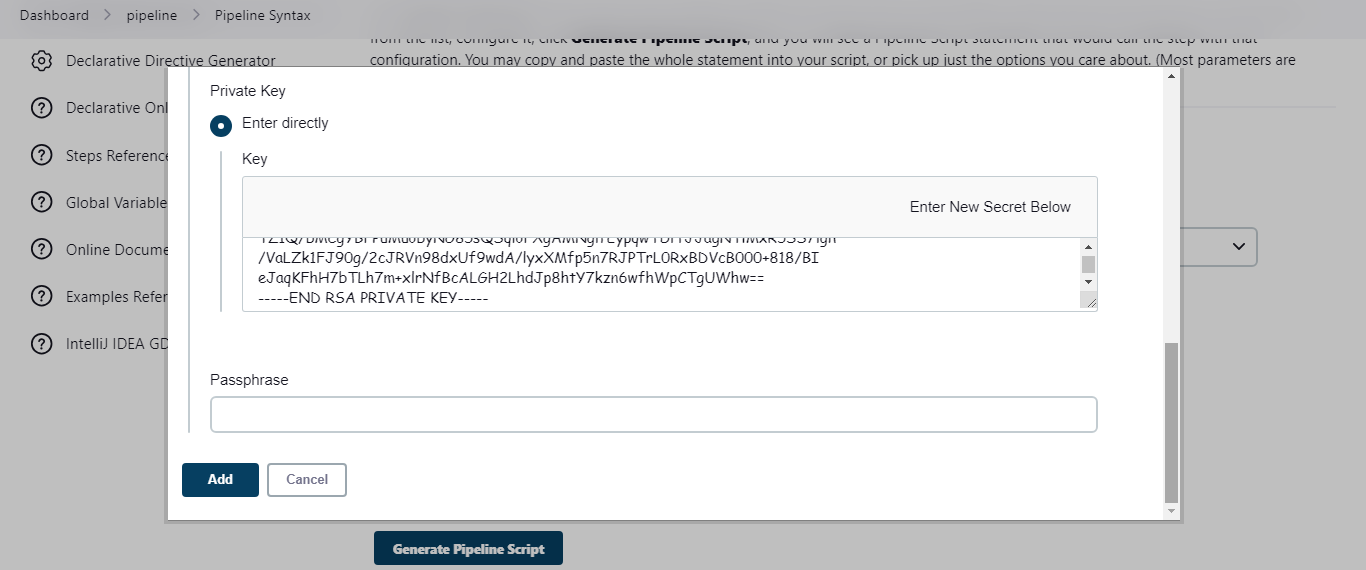
Figure 9 : Generate pipeline script
Below is how the pipeline script should look like:
  sshagent(['SSH-credentials']) {
      // Inside this block, you have SSH authentication set up
  }
The
['SSH-credentials']is the ID of the SSH credentials you created.Using the generated script, create a Jenkins pipeline. The pipeline script should look like this:
  pipeline {
      agent any

      environment {
          SSH_HOST = 'ubuntu@18.233.0.213'
      }

      stages {
          stage('Deploy to Kubernetes') {
              steps {
                  sshagent(['SSH-credentials']) {
                      // Inside this block, you have SSH authentication set up

                      // Check if deployment already exists
                      script {
                          def deploymentExists = sh(script: "ssh ${env.SSH_HOST} 'kubectl get deployment hello-minikube --no-headers --ignore-not-found'", returnStatus: true) == 0

                          // If deployment exists, delete it
                          if (deploymentExists) {
                              sh "ssh ${env.SSH_HOST} 'kubectl delete deployment hello-minikube'"
                          }
                      }

                      // Deploy Kubernetes manifest
                      sh "ssh ${env.SSH_HOST} 'kubectl create deployment hello-minikube --image=k8s.gcr.io/echoserver:1.10'"

                      // Check if service already exists
                      script {
                          def serviceExists = sh(script: "ssh ${env.SSH_HOST} 'kubectl get service hello-minikube --no-headers --ignore-not-found'", returnStatus: true) == 0

                          // If service doesn't exist, expose it
                          if (!serviceExists) {
                              sh "ssh ${env.SSH_HOST} 'kubectl expose deployment hello-minikube --type=NodePort --port=8080'"
                          }
                      }

                      // Access the app and get the URL
                          script {
                              def serviceUrl = sh(script: "ssh ${env.SSH_HOST} 'minikube service hello-minikube --url'", returnStdout: true).trim()

                      // Print the URL to Jenkins build logs
                              echo "Application URL: ${serviceUrl}"
                      }
                  }
              }
          }
      }
  }
This pipeline script does the following:
The pipeline script uses the SSH credentials to connect to the Kubernetes server.
It sets the SSH host to the Kubernetes server using its name and IP address.
It checks if the deployment already exists. If it does, it deletes the deployment.
It creates a deployment of the application in the Kubernetes cluster.
It exposes the deployment as a service.
It gets the URL of the application and prints it to the Jenkins build logs.
Click on Save to save the pipeline.
Step 3: Run the Jenkins Pipeline
To run the Jenkins pipeline, follow these steps:
On your Jenkins dashboard, click on the pipeline you created.
Click on Build Now to run the pipeline.
Once the pipeline is running, you can check the logs to see the progress of the deployment.
If the deployment is successful, you should see the URL of the application in the logs.
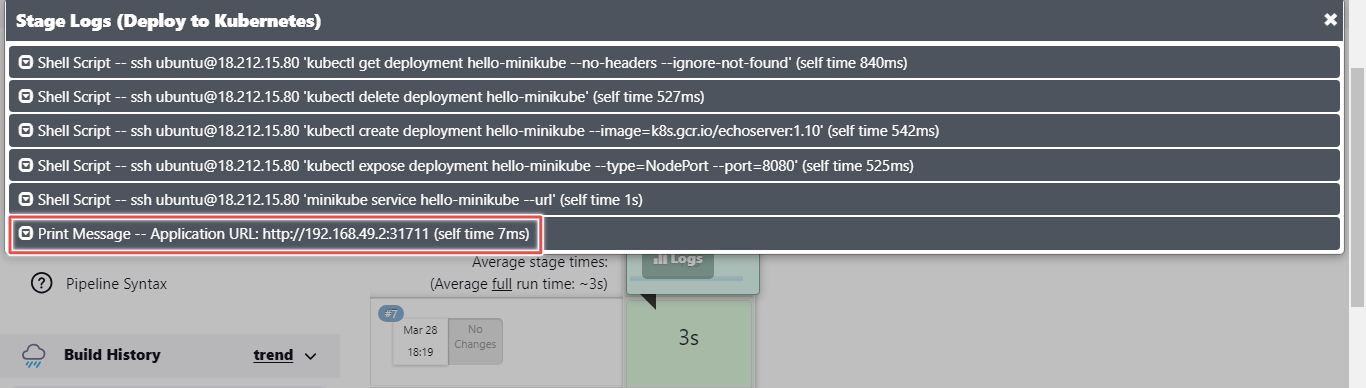
Figure 10 : Application URL
Step 4: Access the Application
On your Kubernetes server, check if all the pods are running:
kubectl get podsYou should see the pods running:
  NAME                              READY   STATUS    RESTARTS   AGE
  hello-minikube-7c77b68d8c-7z5zr   1/1     Running   0          2m
To see the output of the application, run the following command:
curl <application-url>This is the same URL that was printed in the Jenkins build logs.
The output should look like this:
  Hostname: hello-minikube-7c77b68d8c-7z5zr

  Pod Information:
        -no pod information available-

  Server values:
        server_version=nginx: 1.13.3 - lua: 10008

  Request Information:
        client_address=10.244.0.1
        method=GET
        real path=/
        query=
        request_version=1.1
        request_scheme=http
        request_uri=http://192.168.49.2:8080/

  Request Headers:
        accept=*/*
        host=192.168.49.2:31711
        user-agent=curl/7.81.0

  Request Body:
        -no body in request-
Under the Request Information section, you can see the
request_uriwhich is the URL of the Jenkins server.
In the End
As mentioned earlier, this article skipped important steps that are crucial when working with a real-world application.
For instance, when working with a real-world application, your pipeline will contain steps like a git checkout, building a docker image, etc and will be triggered by a webhook.
All this wasn't included so you could focus on the main goal of the article which is to deploy an application to a Kubernetes cluster using Jenkins CI/CD pipeline.
To extend your knowledge, you should consider adding the missing steps to the pipeline. You can also explore other Jenkins plugins that can help you automate the deployment process.


