How to build a CI/CD Pipeline using GitHub Actions

Prince is a technical writer and DevOps engineer who believes in the power of showing up. He is passionate about helping others learn and grow through writing and coding.
When building software applications using Docker, your workflow is usually identical. You'd write code, build a Docker image, push the image to a registry, and deploy the image to a server. If you're making multiple changes in a day, this process can be tedious and doing it manually will definitely give you headaches.
You can automate this process using continuous integration and continuous deployment (CI/CD) pipelines. This article will focus on a popular CI/CD tool called GitHub Actions. Here, you will build a pipeline to build a Docker image and push it to Docker Hub. In the process, you'll learn how to write a GitHub Actions workflow, create a secret, and much more.
Prerequisites
Although this article is beginner-friendly, there are a few things you need to properly follow through.
A basic knowledge of navigating GitHub and an account. If you don't have one, you can sign up on GitHub.
A Docker Hub account. Sign up for one on the Docker Hub website.
Project Setup
This project will create a .github/workflows directory in your repository. This directory will contain the GitHub Actions workflow file. The workflow file defines the actions to execute when a specific event occurs. In this case, the event is a push to the repository.
Once you push your code to the repository, GitHub Actions will automatically build and push the image to Docker Hub. You can then navigate to Docker Hub to view the image.
App Setup
The project you choose for this tutorial doesn't matter, all you need is a project with a Dockerfile. If you don't have one, you can clone this multi-container app from Docker.
To clone the repository, run the following command:
git clone https://github.com/Aahil13/multi-container-app.git
Navigate to the multi-container-app directory:
cd multi-container-app
Step 1: Create a GitHub Actions Workflow
A GitHub Actions workflow is a file that includes the steps necessary to build and push your Docker image. The workflow file typically resides in the .github/workflowsdirectory of your repository and has a .yml or .yaml extension.
Inside your project directory, create a .github/workflows directory:
mkdir -p .github/workflows
Navigate to the .github/workflows directory and create a new file called docker-deployment.yml:
cd .github/workflows && touch docker-deployment.yml
Open the docker-deployment.yml file in your text editor and add the following code:
name: Build and Push Docker image

on:

 push:
    branches: [ main ]
 pull_request:
    branches: [ main ]

jobs:
  push_to_registry:
    name: Push Docker image to Docker HUB
    runs-on: ubuntu-latest
    steps:
      - name: Check out the repo
        uses: actions/checkout@v3

      - name: Log in to Docker Hub
        uses: docker/login-action@f4ef78c080cd8ba55a85445d5b36e214a81df20a
        with:
          username: ${{ secrets.DOCKER_USERNAME }}
          password: ${{ secrets.DOCKER_PASSWORD }}

      - name: Extract metadata (tags, labels) for Docker
        id: meta
        uses: docker/metadata-action@9ec57ed1fcdbf14dcef7dfbe97b2010124a938b7
        with:
          images: aahil13/docker-deployment

      - name: Build and push Docker image
        uses: docker/build-push-action@3b5e8027fcad23fda98b2e3ac259d8d67585f671
        with:
          file: app/Dockerfile
          context: .
          push: true
          tags: ${{ steps.meta.outputs.tags }}
          labels: ${{ steps.meta.outputs.labels }}
This workflow has four steps, which does the following:
Step 1: Checks out the repository.
Step 2: Logs into Docker Hub using the
docker/login-actionaction.Step 3: Extracts metadata (tags, labels) for Docker using the
docker/metadata-actionaction.Step 4: Builds and pushes the Docker image using the
docker/build-push-actionaction.
This workflow has two triggers: push and pull_request. This means the workflow will be triggered when you push code to the main branch or create a pull request.
Step 2: Set up Secrets
The workflow file shows that we're using two secrets: DOCKER_USERNAME and DOCKER_PASSWORD. These secrets are used to log in to Docker Hub.
To set up these secrets, follow these steps:
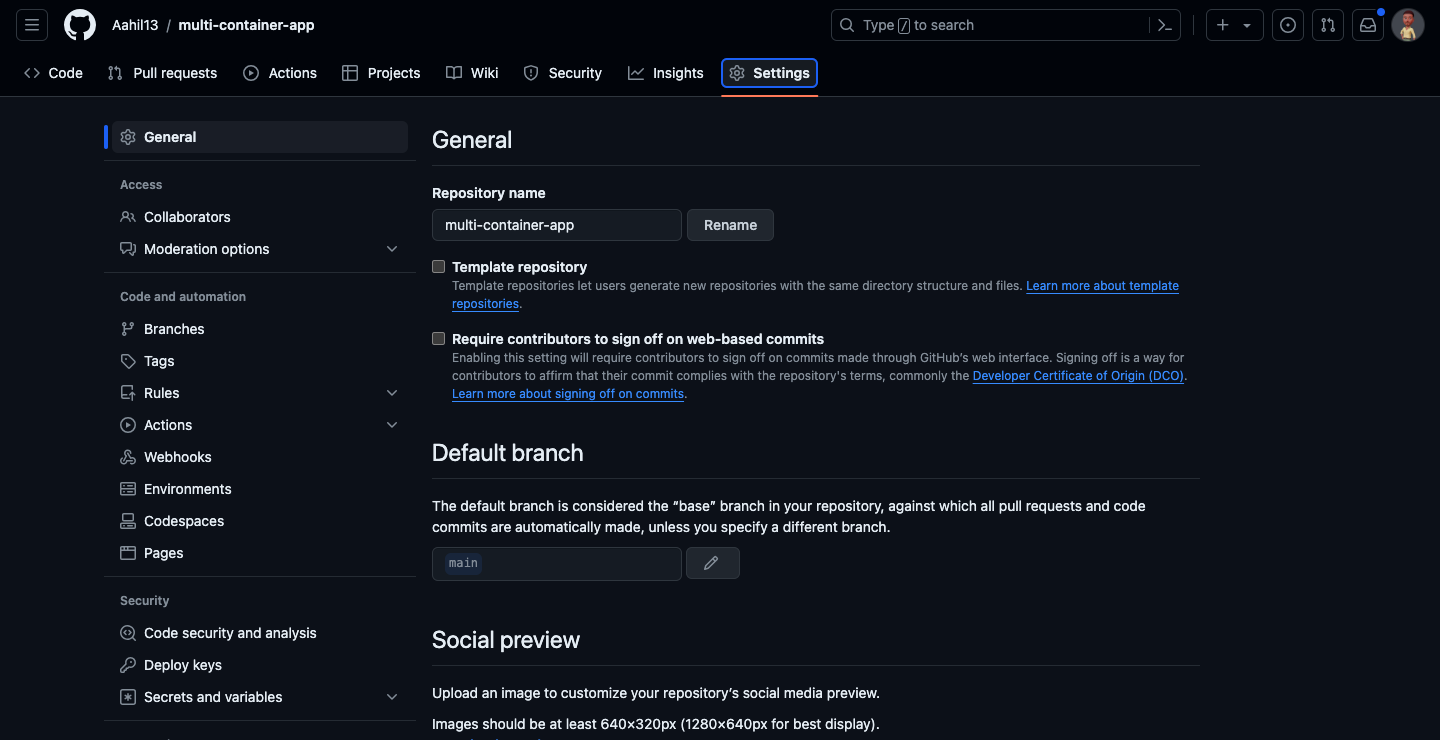
navigate to your repository on GitHub and click on the Settings tab.
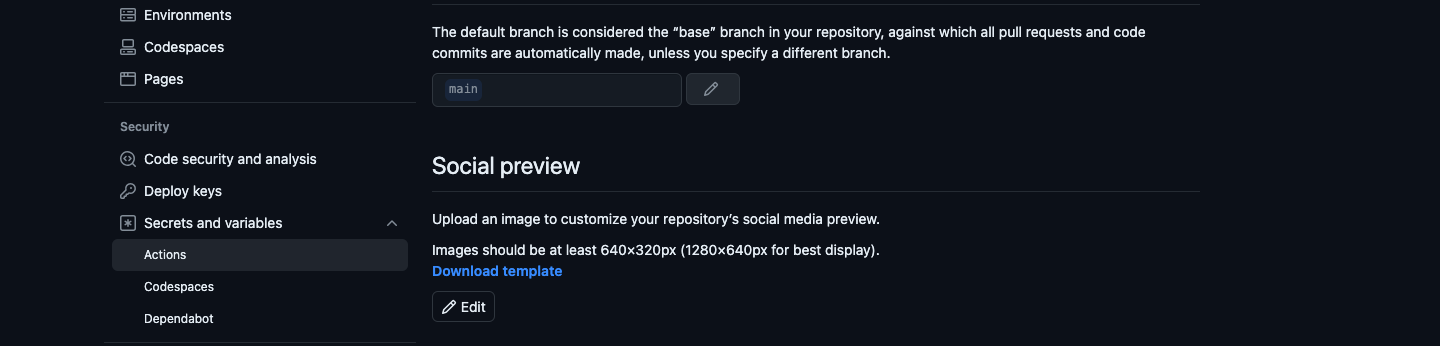
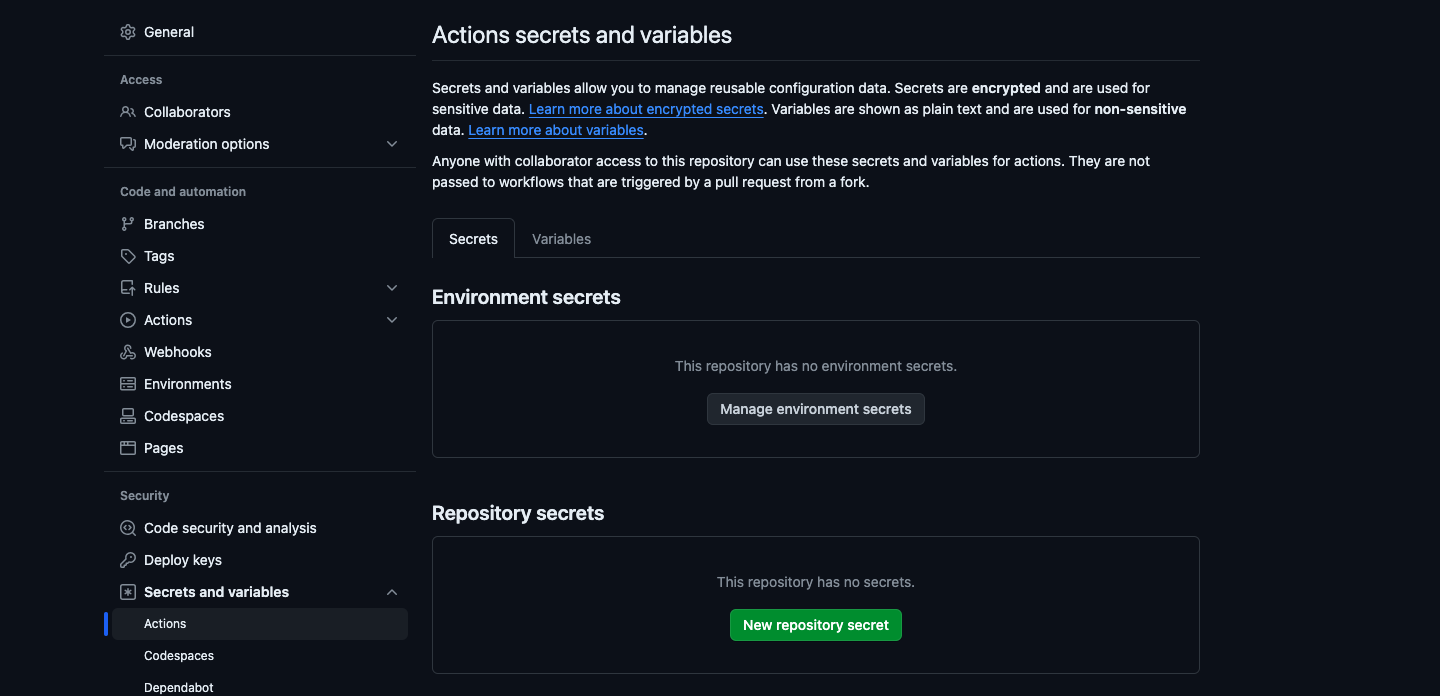
On the left-hand menu, click on the Secrets & variables dropdown and select the Actions option.
Under Repository secrets, Click on the New repository secret button.
In the
Namefield, enterDOCKER_USERNAMEand your Docker Hub username in theSecretfield. Once you're done, click on the Add secret button.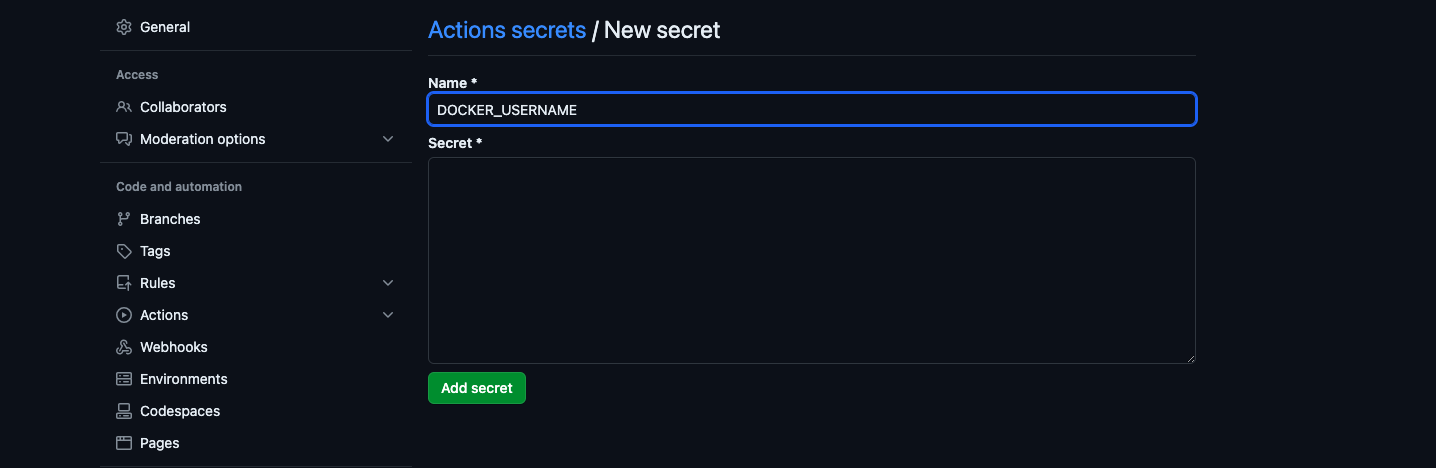
Repeat the process for the
DOCKER_PASSWORDsecret.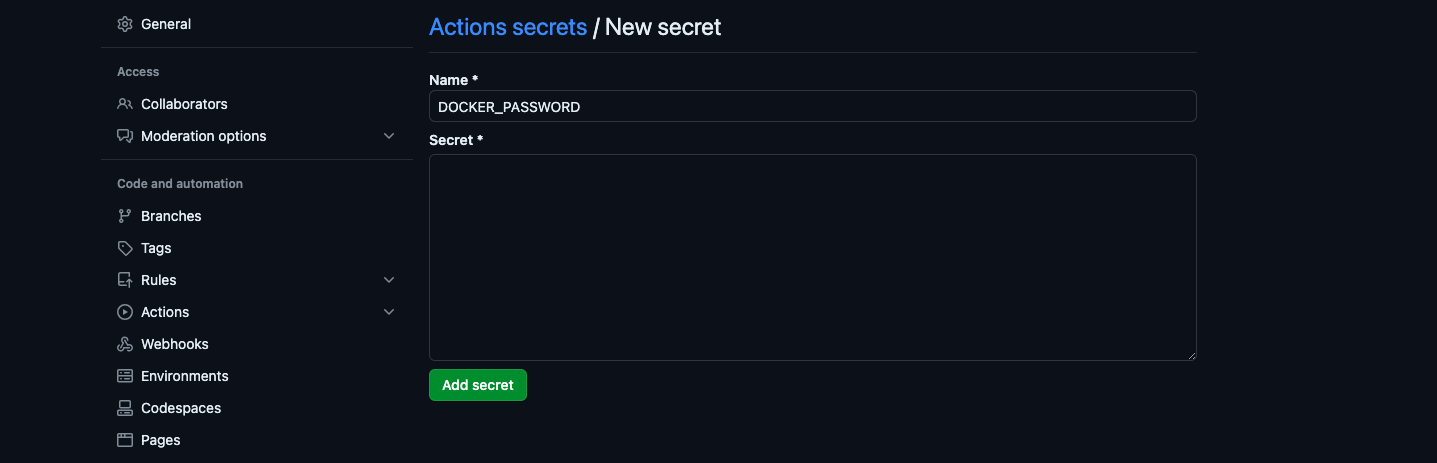
After which, you should see the secrets listed under Repository secrets.

Step 3: Push the Code to GitHub
Now that you've set up the workflow file and secrets, it's time to push the code to GitHub.
Remember, the workflow will be triggered when you push code to the main branch or create a pull request.
To push the code to GitHub, run the following commands:
git add .
git commit -m "Add GitHub Actions workflow"
git push origin main
Step 4: View GitHub Actions Workflow
If your workflow is successful, you should see a green checkmark next to the workflow name. To view the workflow, you'll need to navigate to the Actions tab on your repository.
Once you're on the Actions tab, you should see the workflow you created. Click on the workflow name to view the logs.

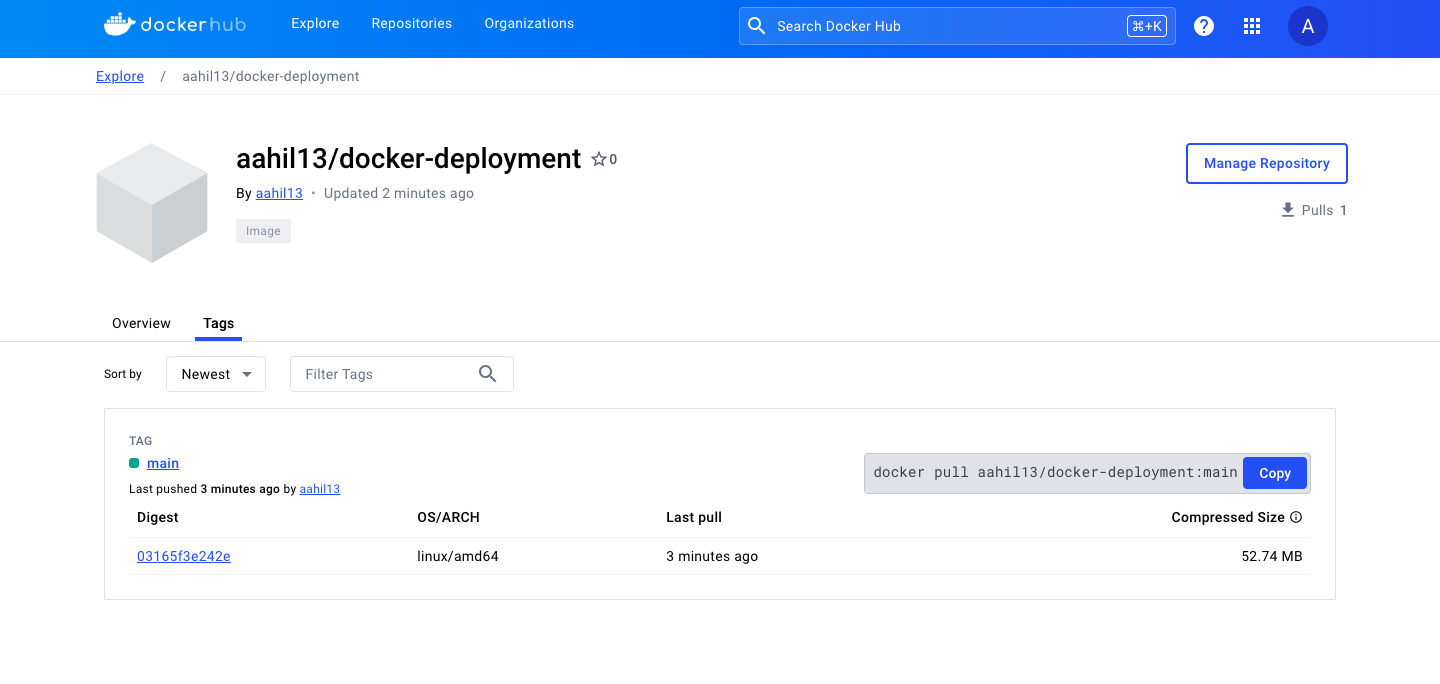
Step 5: View Docker Image on Docker Hub
To view the Docker image on Docker Hub, navigate to the Docker Hub website. Log in to your account and search for the image you pushed.
Common Issues
There are a few issues you might encounter when setting up the workflow. Here are a few common ones:
Not setting your Docker Hub username and password properly: This will cause the workflow to fail at the login step with the error message
Error: Username and password required.
To fix this error, make sure you've set up the
DOCKER_USERNAMEandDOCKER_PASSWORDsecrets correctly. Also, ensure that the secrets are being used in the workflow file. After which, rerun the build.Pointing to the invalid Dockerfile path: If the path to the Dockerfile is incorrect, the workflow will fail.
By default, it's expected that the Dockerfile is located in the repository's root directory. If the Dockerfile is located in a different directory, you'll need to specify the path to the Dockerfile in the workflow file.
In this project, the Dockerfile is located in the
appdirectory. So, the path to the Dockerfile isapp/Dockerfile.On the
docker-deployment.yamlfile, notice this line where the Dockerfile path is specified:- name: Build and push Docker image uses: docker/build-push-action@3b5e8027fcad23fda98b2e3ac259d8d67585f671 with: file: app/Dockerfile context: . push: true tags: ${{ steps.meta.outputs.tags }} labels: ${{ steps.meta.outputs.labels }}Ensure that the path to the Dockerfile is correct. If not, update the path and rerun the build.
Conclusion
In this article, you learned how to build a CI/CD pipeline using GitHub Actions. You created a GitHub Actions workflow that builds and pushes a Docker image to Docker Hub.
At this point, you're only just scratching the surface of what GitHub Actions can do. You can extend the workflow to include more actions like running tests, deploying the image to a server, and much more.


