How to Deploy React and Node.js Containers to a Kubernetes Cluster

Prince is a technical writer and DevOps engineer who believes in the power of showing up. He is passionate about helping others learn and grow through writing and coding.
When you have multiple containers, deploying them to a Kubernetes cluster doesn't deviate much from deploying a single container. The only difference is that you'll have to create a deployment for each container. In this case, you'll use a single deployment file for both containers.
This article aims to guide you through the process of deploying React and Node containers to a Kubernetes cluster. In the end, you'll have a simple react app that communicates with a Node.js server which is accessible from the internet.
Project Setup
Docker is the choice containerization tool for this project. You'll use Docker compose to build and run the containers locally. After which, the Docker images will be tagged and pushed to Docker Hub.
As mentioned earlier, both containers will be deployed using a single Kubernetes deployment file. The deployment file will contain the specifications for both containers. It will also contain the specifications for the services that will be used to access the containers.
The Kubernetes environment for this project will be set up using Amazon EKS. EKS is a managed Kubernetes service which is easy to set up and use. You can also use Minikube or any other Kubernetes environment of your choice.
EKS will be set up using the official EKS CLI - eksctl. This tool makes setting up the cluster as easy as running a single command.
Prerequisites
From the project setup, you can see that you'll need a couple of tools set up on your machine to follow along. Use the links below to install the tools if you don't have them installed already:
Docker. Select your machine and follow the installation instructions. You'll need to install Docker compose as well.
Kubectl. You'll need Kubectl because it's the command line tool for interacting with the Kubernetes cluster.
eksctl. To authenticate eksctl with your AWS account, you'll also need to install the AWS CLI and configure it with your AWS account credentials.
Application Setup
This tutorial uses a simple application to demonstrate this deployment process. If you have another application you'd like to use, feel free. If not, you can use this one.
Follow the steps below to set up the application:
Clone the application:
git clone https://github.com/Aahil13/react-node-app.gitChange the directory into the application code:
cd react-node-app/View the content of the application. You should see the folders named
nodeandreactwith each containing their respective application code and Dockerfiles.ls # Linux or mac dir # windows
Step 1: Dockerize the Application
At the root of the project, you'll find a Docker compose file which is configured to build and run both containers locally. After local deployment, you'll tag the images, and push them to Docker Hub.
Docker compose
The Docker compose file is already built, however, just as a simple explanation, the file contains the specifications for both containers. The node container is built from the node directory and the react container is built from the react directory.
Run this command from the root of the project to build and start the local deployment:
docker-compose up --build
This command will execute the docker-compose.yaml file and start the application on port 3000. You can access the application on your browser by visiting http://localhost:3000.
After you have inspected the application, stop the containers by running the command below:
docker-compose down
Tag and Push the Images
After you have stopped the containers, you can tag and push the images to Docker Hub. You'll need to create a Docker Hub account if you don't have one already.
To tag and push the images, follow the steps below:
NODE:
Navigate to the
nodedirectory and run the commands below:# Tag the node image docker tag react-node-app_node YOUR-DOCKER-USERNAME/node:latest # Push the node image docker push YOUR-DOCKER-USERNAME/node:latestREACT:
In the
reactdirectory, run the commands below:# Tag the react image docker tag react-node-app_react YOUR-DOCKER-USERNAME/react:latest # Push the react image docker push YOUR-DOCKER-USERNAME/react:latestReplace
YOUR-DOCKER-USERNAMEwith your Docker Hub username. Don't forget to authenticate with Docker Hub before pushing your image.
Step 2: Set Up the Kubernetes Cluster
As earlier mentioned, you'll use a single command to set up the cluster on AWS. After installing and authenticating your AWS account with eksctl, run the command below to create a cluster with two nodes.
eksctl create cluster --name react-node-cluster --version 1.29 --region us-east-1 --nodegroup-name linux-nodes --node-type t3.medium --nodes 2
This will create an EKS cluster called react-node-cluster using a Kubernetes version of 1.29 in us-east-1. It also sets up a node group called linux-nodes with two node types of t3.medium.
To verify that everything is configured correctly, you can check your AWS account in the EKS console for your cluster. Also, to make sure Kubectl is interacting with the appropriate context which in this case is EKS, run the command below:
kubectl get nodes
This command should return the two nodes you created.
Step 3: Deploy the Application
The node-react-deployment.yaml file in the project directory is the deployment file that contains the specifications for both containers. It also contains the LoadBalancer service for the deployments.
A simple overview of what this file does is, that it uses the Docker images pushed to Docker Hub to create the deployments for the containers. It then opens the ports for the containers and creates a LoadBalancer service for them.
Run the command below to deploy the application to the Kubernetes cluster:
kubectl apply -f node-react-deployment.yaml
After running the command, check the status of the deployments and services by running the commands below:
kubectl get deployments
kubectl get services
You can check the status of the pods by running the command below:
kubectl get pods
You will get the following output:
NAME                                     READY   STATUS    RESTARTS   AGE
node-react-deployment-865f554655-7xqwh   2/2     Running   0          107s
node-react-deployment-865f554655-p8554   2/2     Running   0          107s
Step 4: Access the Application
Once the pod status is Running, you can access the application by running the command below:
kubectl get svc
This command will return the external IP address of the LoadBalancer service.
NAME                 TYPE           CLUSTER-IP     EXTERNAL-IP                                                               PORT(S)                         AGE
kubernetes           ClusterIP      10.100.0.1     <none>                                                                    443/TCP                         53s
node-react-service   LoadBalancer   10.100.69.97   acb4c009ffe5f4967af7cb41ca9942ab-1925166508.us-east-1.elb.amazonaws.com   4000:31378/TCP,3000:30846/TCP   25s
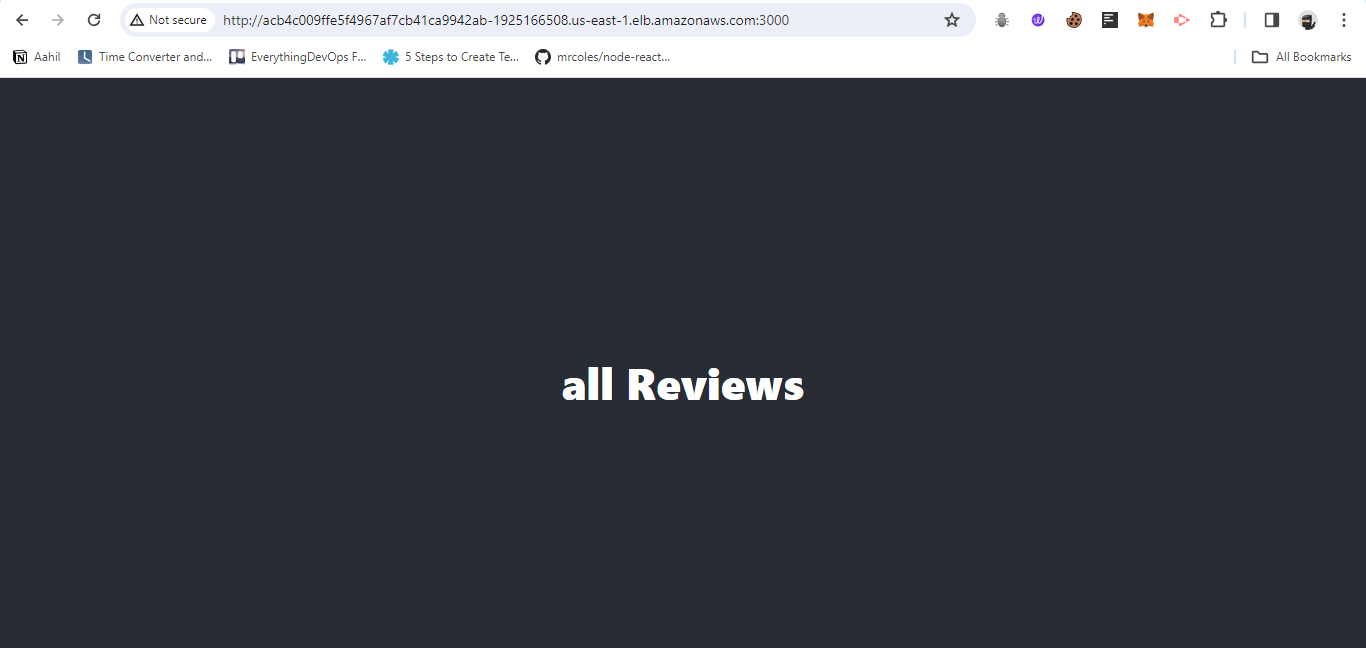
Using the external IP address, you can access the application on your browser by visiting http://EXTERNAL-IP:3000.
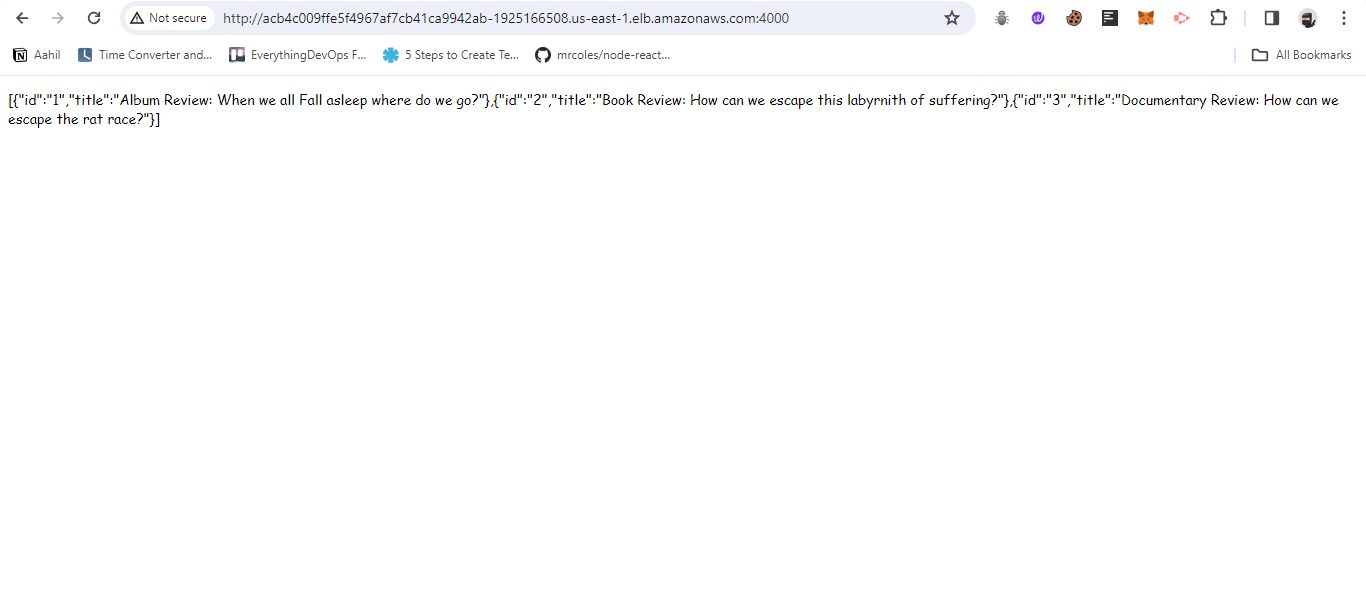
You can also see the node server by visiting http://EXTERNAL-IP:4000.
To see this external IP address in the AWS console, navigate to the EC2 service. Navigate to the Load Balancers section and you'll see the external IP address of the LoadBalancer service.
Clean Up
While using eksctl, both setting up and shutting down a cluster is just one command away. To delete the cluster, run the command below:
eksctl delete cluster --name react-node-cluster
Common Issues
There are a couple of issues you might encounter while deploying the application. One common issue is the ImagePullBackOff error. This error occurs when the Kubernetes cluster is unable to pull the Docker images from Docker Hub.
To fix this issue, you'll need to create a secret in the Kubernetes cluster that contains your Docker Hub credentials. You can create the secret by running the command below:
kubectl create secret generic regcred \
    --from-file=.dockerconfigjson=<path/to/.docker/config.json> \
    --type=kubernetes.io/dockerconfigjson
Use the path to your .docker/config.json file in the command above. Usually, this is located in your home directory under .docker/config.json.
After creating the secret, delete your deployments and services and reapply the deployment file. This will trigger the Kubernetes cluster to pull the images from Docker Hub using the secret you created.
To see a full explanation of the ImagePullBackOff error and how to fix it, you can read this article.
Conclusion
It wasn't such a complex process, was it? You've successfully deployed a React and Node.js application to a Kubernetes cluster. You've also seen how to fix a common issue that might occur while deploying the application.
I hope you learnt something new, and if you have any questions or feedback, feel free to leave a comment below.


